In your website’s Performance Settings, you can configure options related to loading pages faster, optimizing images, and speeding up visitors’ experience. This guide will explain each setting.
In this guide
To visit the Performance Settings:
- Visit your site’s dashboard.
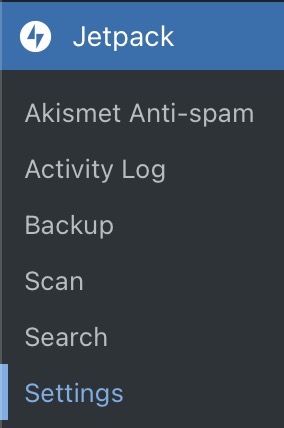
- Navigate to Jetpack → Settings.
- Click on the tab labeled “Performance”.
Each setting found here is explained below.
Jetpack Search is a powerful replacement for the core search capability built into WordPress. It provides higher-quality results and an improved search experience. Jetpack Search is available to purchase as an Add-On from Jetpack.com.
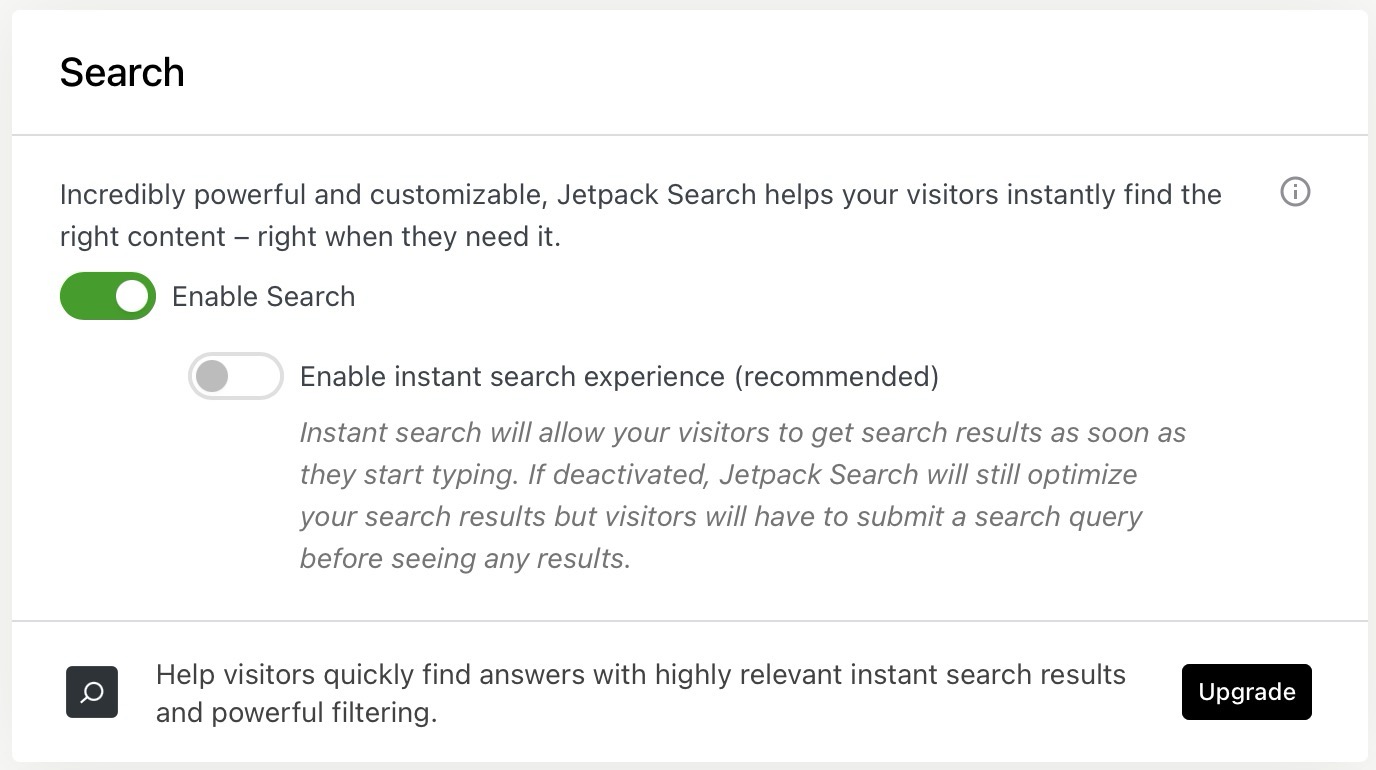
This section of the guide applies to sites with the WordPress.com Business and Commerce plan, and the legacy Pro plan. If you have a Business plan, make sure to activate it. For sites on the Free, Personal, and Premium plans, upgrade your plan to access this feature.
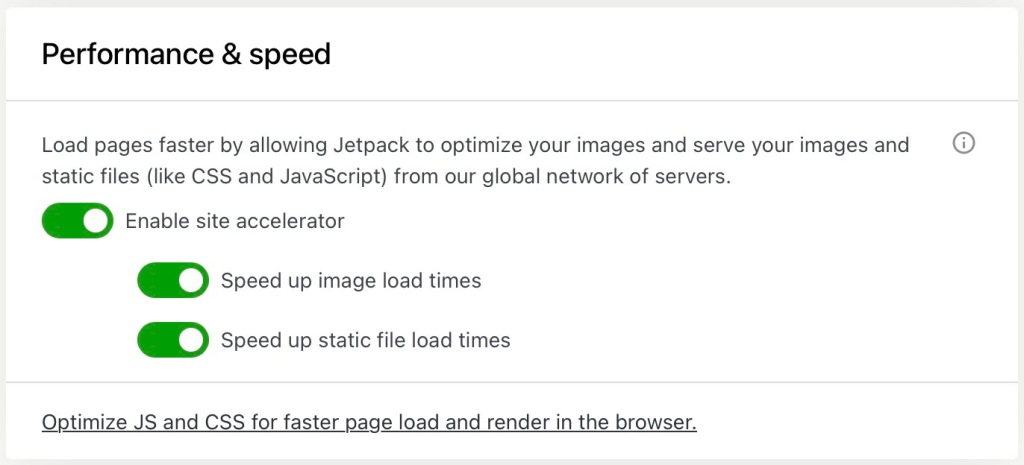
Jetpack’s Site Accelerator is our Content Delivery Network (CDN) that speeds up your site with faster images and static files.
- Visit your site’s dashboard.
- Navigate to Jetpack → Settings.
- Click on the tab labeled “Performance”.
- Locate the “Performance & speed” section.
- Toggle the option next to Enable Site Accelerator and enable the following settings:
- Speed up image load times: We host your images from our servers, providing faster image loading for your readers.
- Speed up static file load times: We host static assets like JavaScript and CSS from our servers, alleviating the load on your site.
The Site Accelerator can only retrieve publically available images. If your site is set to private, your images (including in the media library) will return a 403 Forbidden message if “Speed up image load times” is activated.
This section of the guide applies to sites with the WordPress.com Business and Commerce plan, and the legacy Pro plan. If you have a Business plan, make sure to activate it. For sites on the Free, Personal, and Premium plans, upgrade your plan to access this feature.
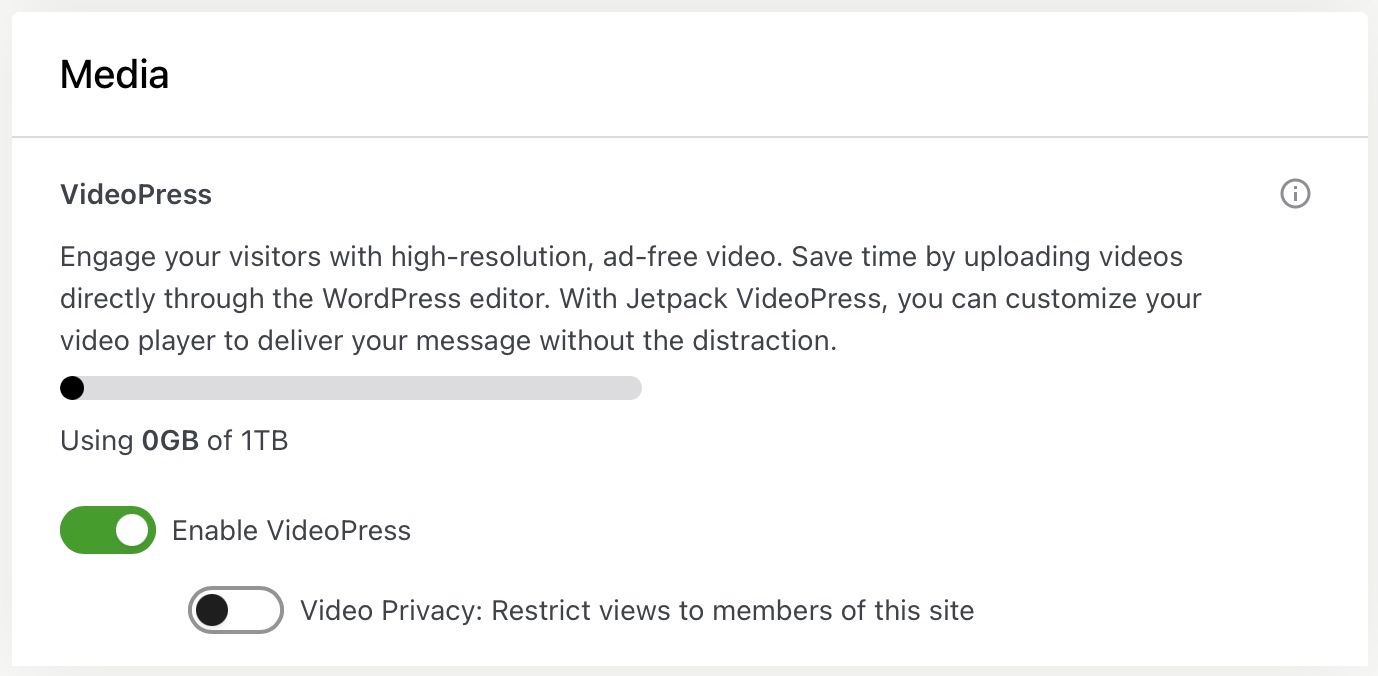
Under Media, you can Enable fast, ad-free video hosting to store your videos on WordPress.com via our VideoPress feature.
You can also check how much storage you have used on your plan.
- Visit your site’s dashboard.
- Navigate to Jetpack → Settings.
- Click on the tab labeled “Performance”.
- Locate the “Media” section.
- Toggle the option next to “Enable VideoPress”
- Optional: Enable “Video Privacy: Restrict views to members of this site” to restrict access for all uploaded videos.