A block is a single piece of content in the WordPress Editor. Think of them as the literal building blocks of your website. You can add blocks for text, images, video, audio, columns, spaces, page breaks, payment buttons, calendars, and much more! This guide will teach you how to get started with adding blocks.
In this guide
You can add a block anywhere you see the + button (called the Block Inserter). This will appear in several places, including:
- Click the + Block Inserter at the top left corner of the editor. This option is great for previewing different block styles:

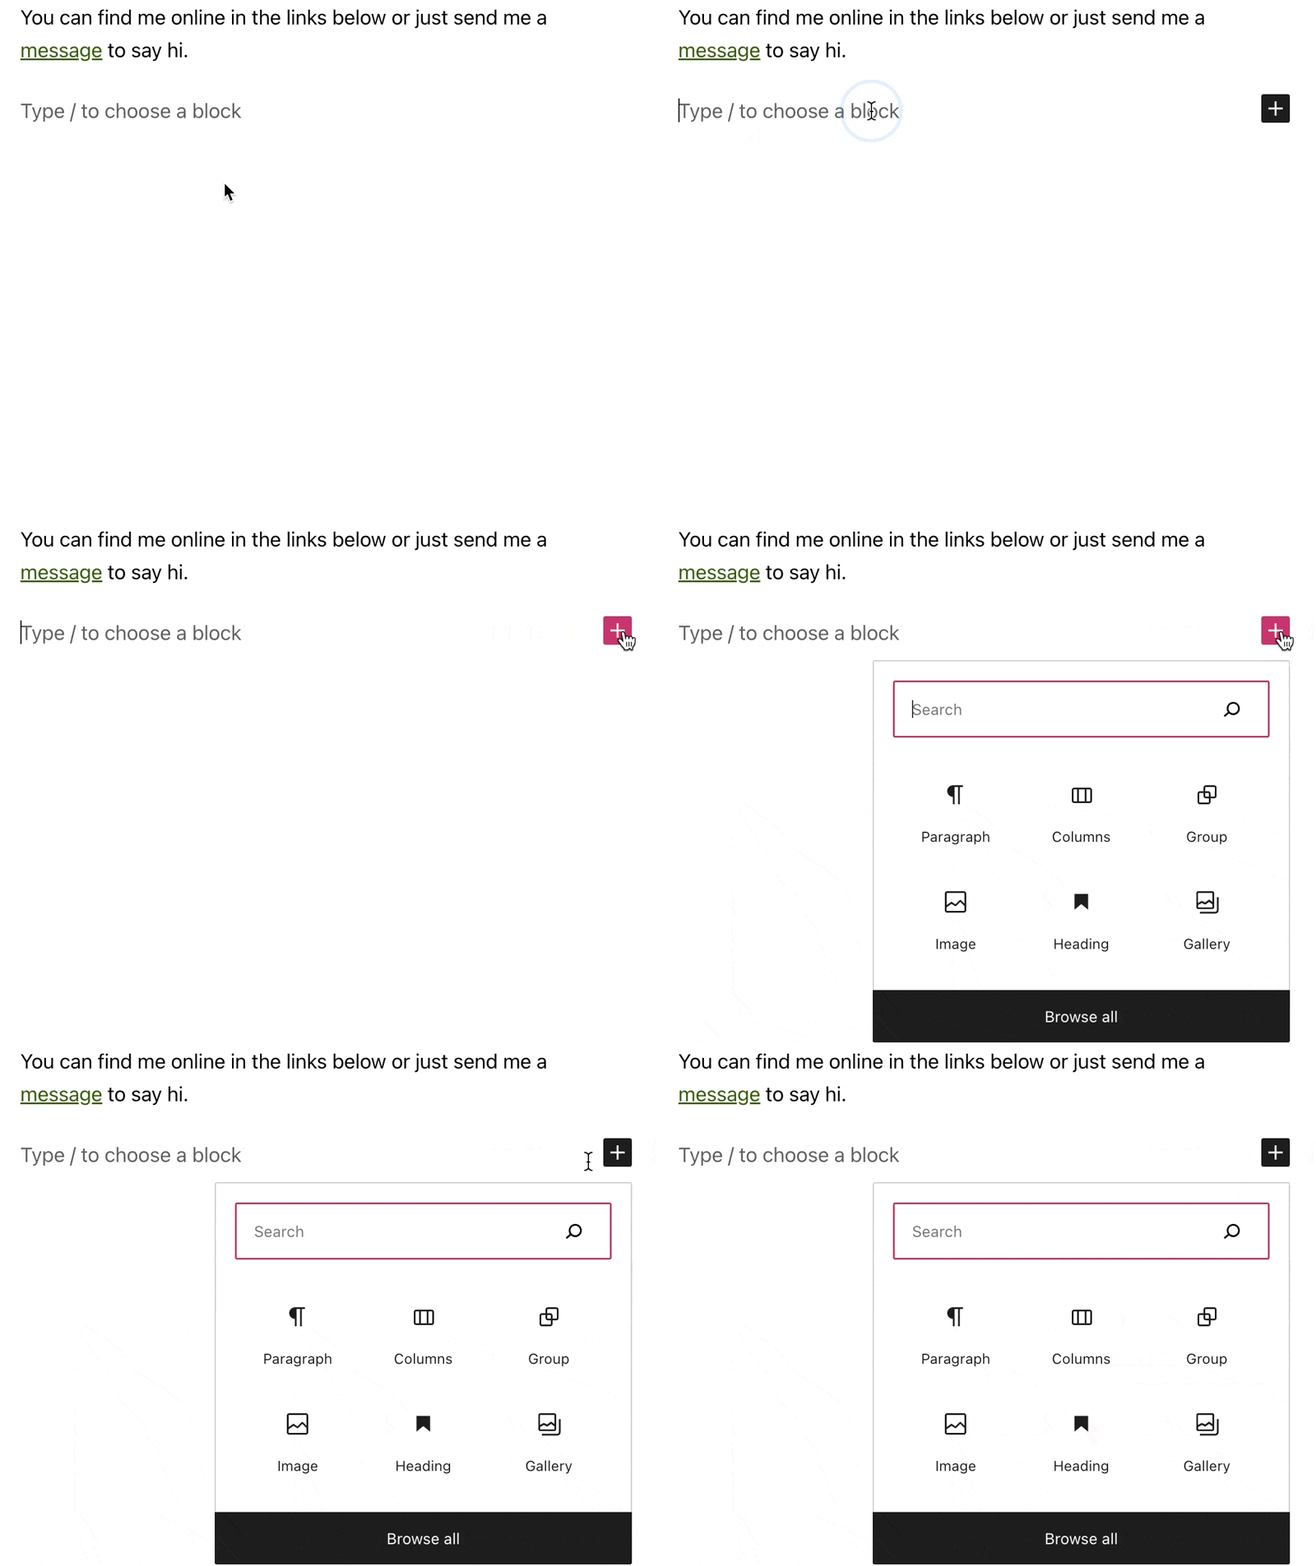
- On a new line (created by pressing Enter/Return on your keyboard), click the + Block Inserter at the side of an empty block:

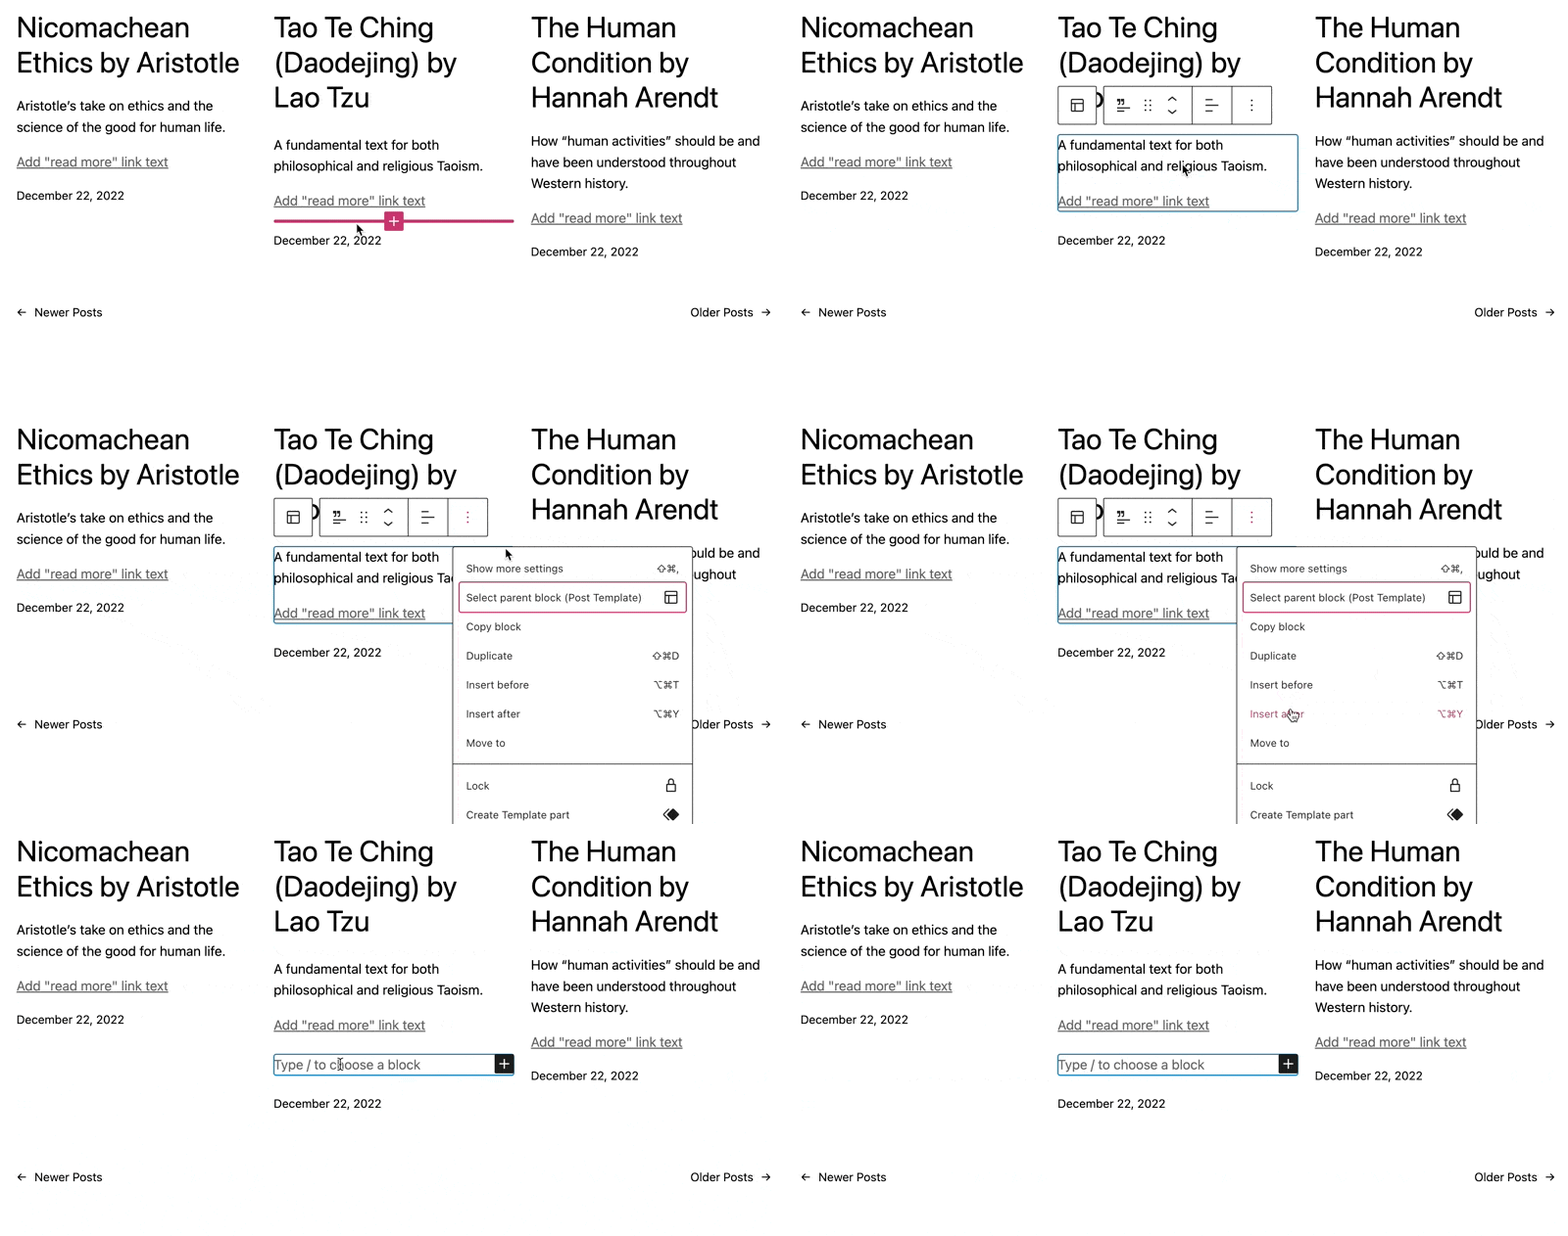
- In the toolbar that appears for a block you have clicked on, select the … (three dots) and choose Add before or Add after to insert a new block above or below the current block:

Pro Tip: Once you are familiar with the names of different blocks, you can quickly add a block by typing a forward slash followed by the block name. For example: /image or /heading.

If you already have content on your page and would like to add new blocks at a specific place in that content, you can do it in one of two ways:
List View is an essential tool when working on your site’s content. To access List View and add new blocks, follow these steps:
- Click the three horizontal lines icon in the top left corner of the editor to open List View.
- Click on the existing block you want to add the new block next to.
- Click the three dots on the right side of the now-highlighted block.
- Choose Add before or Add after.
- Click on the + Block Inserter.
- Search for the block you’d like to add and click it to insert it in that spot.

Using your computer’s mouse/touchpad, you can also add new blocks in certain spots by following these steps:
- Point your cursor to the spot on the page where you want to add a new block, and hover in that spot.
- Click on the + Block Inserter that appears in about a second.
- Search for the block you’d like to add and click it to insert it in that spot.

There’s a block for every possible element you might want to add to your site. To browse the full list of blocks, click the + Block Inserter in the upper left corner of the editor. View a full list of blocks and their guides here.
Here, you will see all the blocks divided into categories. When you hover over a block, it will show you a preview with more information.
Here is also where you can access block patterns (groups of blocks in useful designs). Check out our library of patterns for a vast collection of professionally designed patterns that you can use to build your website.
If you have installed plugins, you may see extra blocks here added by your plugins.
If you find yourself adding the same few blocks all the time, you can surface your most-used blocks at the top of the list of blocks using the following steps:
- Click the ellipses icon (the three dots) at the top right corner of the editor screen.
- Choose Preferences → Blocks.
- Toggle on Show most used blocks.
This makes it easier to choose from the most used blocks on your site.
