The desktop PC has two major nemeses: dust and heat. Heat can be tough to diagnose since you can’t see it the way you can with dust. The key to avoiding any heat-related issues (besides regularly cleaning your PC) is sticking with some tried and true principles of cooling. If you follow the basics, then adapt them to your local environment and the demands of your PC, you should be just fine.
How to measure temperatures
The best way to easily measure if your PC is getting too hot is to monitor the temperatures reported by the CPU and GPU. If these two components are staying within their recommended temperature ranges, then everything else should be just fine.
For CPUs, this means keeping your processor under 80 degrees Celsius when under load, but preferably much lower. A specific CPU’s maximum operating temperature is often higher than 80 degrees, but this is a good general benchmark.
There are many programs that let you monitor CPU temperature, but we recommend Core Temp, as it’s a lightweight program that does its job well. It will also report a temperature reading for each CPU core that you can see at a glance in your PC’s system tray.
Graphics cards can get slightly toastier than the processor, but ideally they’d stay under 85 degrees Celsius. AMD and Nvidia’s native software overlays can report your graphics card’s temperature. Another option that will work for everyone is MSI’s Afterburner.
If you want more detailed explanations, be sure to read our guides on how to read your PC’s CPU temperature and GPU temperature.
Intake and outtake
 Alaina Yee / IDG
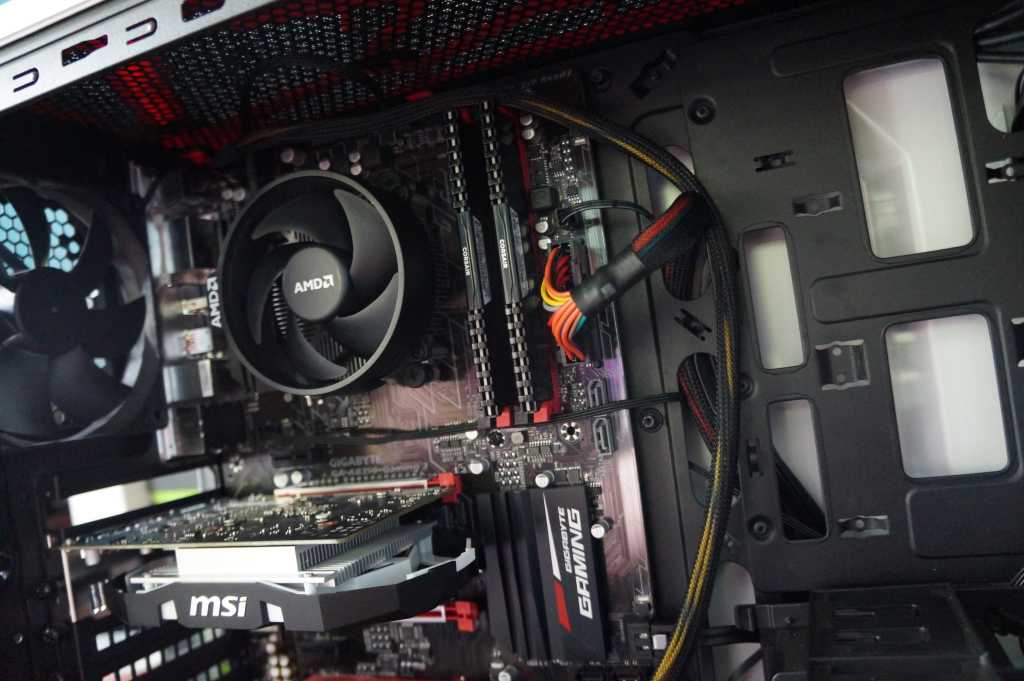
PC cooling starts with two case fans. You can have more than that, but you want at least two. Some cheaper desktops or PC cases only come with a single fan; you’ll want to install another fan if that’s true in your system. One needs to be for intake that brings cooler air into the case. The other is for outtake or moving hot air out of the case. (Here’s how to tell which way your PC fans are blowing.) Having a single fan doing just one of those things will significantly increase temperatures.
Where these fans are situated depends on the case, but the outtake fan is usually positioned toward the back of the case, near the CPU. It can also be at the very top of the case, right above the CPU. This placement make sense because the CPU is outputting a lot of heat that needs to get out of the case, and the other major heat generator, the graphics card, is just below that.
The intake fan should ideally pull cool air in from the front of the case, away from where the hotter components (and air) are. This all depends on your case, however, as fan placement is dictated by your case design.
If you only have a limited number of fans and they’re not doing their job, an alternative is to look at pulse width modulation (PWM) fans. These fans require a compatible PWM header on the motherboard, and make it possible to control the speed of the fans via software or your motherboard BIOS. This enables the fans to speed up when it’s too hot and slow down (or even stop) when they’re not needed. PWM fans are used on graphics cards for better power efficiency and cooling, and they can do the same for your system cooling needs.
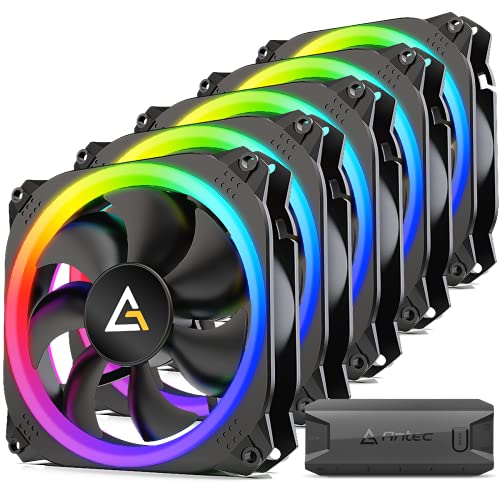
You can find a basic no-frills PC case fan for as little as $5 on Amazon. Antec’s whisper-quiet P12 case fans are an in-house favorite and you can get not one, not two, but five for under $25. Meanwhile, if you want to add a little bling to your setup, you can also buy a five pack of Antec fans with RGB lights and PWM support for $60. Our guide to installing case fans has all the info you need to make sure you pick out the right kind for your particular setup.
Pressure
 Lenovo
Case fans are used to achieve one of several situations: either positive pressure, negative pressure, or an even balance between the two. Positive pressure is when there is more cool air entering the case than exiting via the outtake fans. Negative is the opposite.
PCs built without much attention to fan placement or direction usually end up with a positive pressure environment. That’s because there are so many cracks, crevices, and unused vent holes in a PC case where air can enter.
To get a negative pressure set-up, where more air is being pushed out than pulled in, you need to really think about fan placement and spin direction. You want most fans (if you have more than two) blowing outwards to push all that hot air away from your components.
Which kind of pressure you want really depends on your needs. Some people in drier environments, where dust accumulates easily, swear by a negative-pressure environment for their PC.
Most people should aim for a positive airflow. An even flow of positive and negative pressure is the best bet for most people, however. When you have enough air moving through the case from the outside, while pushing really hot air out, you get the benefits of reducing dust accumulation while keeping the air moving. The key, however, is to make sure that you have filters near the intake fans to prevent too much dust from coming in with your air. If there aren’t built-in filters for your case, you can often make your own without much trouble.
Upgrading component cooling
 Noctua
The Noctua NH-D15 CPU cooler.
The key to any cooling setup beyond fans and airflow are the cooling devices you use for your GPU and CPU. Graphics cards come with their own fans. While you can upgrade a GPU to liquid cooling, that’s an advanced topic—and an expensive one if you mess up. Most people leave the GPU cooling as-is and look toward improving the CPU cooler.
Many CPUs come with a stock cooler, or if you’re on a budget you might grab the cheapest serviceable CPU cooler you can find. But cheaping out on the CPU fan is a mistake, because getting a better CPU cooler can help keep the overall system temperatures lower.
A better cooler can absorb more heat ,and direct it toward outtake fans making the entire system more efficient. The problem with better CPU coolers is they can often cause problems for cases with low clearance. If they are oriented incorrectly, a large cooler may also prevent your RAM from being properly installed.
One effective alternative to standard CPU coolers is the all-in-one (AIO) liquid cooler. An AIO removes the worries about clearance, and most cases have space for the fans an AIO requires. A dual-fan AIO is an excellent choice for keeping your CPU cool, and these days they can often cost about the same as a high-end air cooler.
Other considerations
 Ben Patterson/IDG
If improving your case fans, negative versus positive pressure, and better component coolers don’t help your situation, there are still more considerations. First, it may be that your case simply isn’t ideal for your system.
Consider buying a new case that prioritizes cooling with better airflow and more space for fans. You may even have to give up on having a transparent side in order to get more vents and spots for fans. Our explainer on how to buy a PC case can help you find the best case for you.
Also consider the ambient temperature in the room. Moving the PC to a room with air conditioning if one is available, or a room in a below-ground basement is a good idea. If neither is an option, the old “point a floor fan at an intake filter” can be surprisingly effective.
Keeping your PC cool is not always a simple affair, but for most people who aren’t doing extreme overclocking, these steps should be enough to keep things from overheating.

