When it comes to knocking projects out, I have learned that it helps to pay attention to the tools and materials I have out and try to hit projects that need those same tools and materials. For example, while the sewing machine is out and threads are all over the floor, it makes sense to work on several sewing projects on my list. If I have ceiling paint out, let me complete a couple of ceilings instead of just one. It can add a lot more time to a project that might’ve been short and sweet, but it does save time and sometimes money in the long run. So, when we were buying pine boards for the mantel project and had our job site table saw set up on the driveway, I decided to pick up a rough pine board to make another shelf for the antique pine hutch in the kitchen.
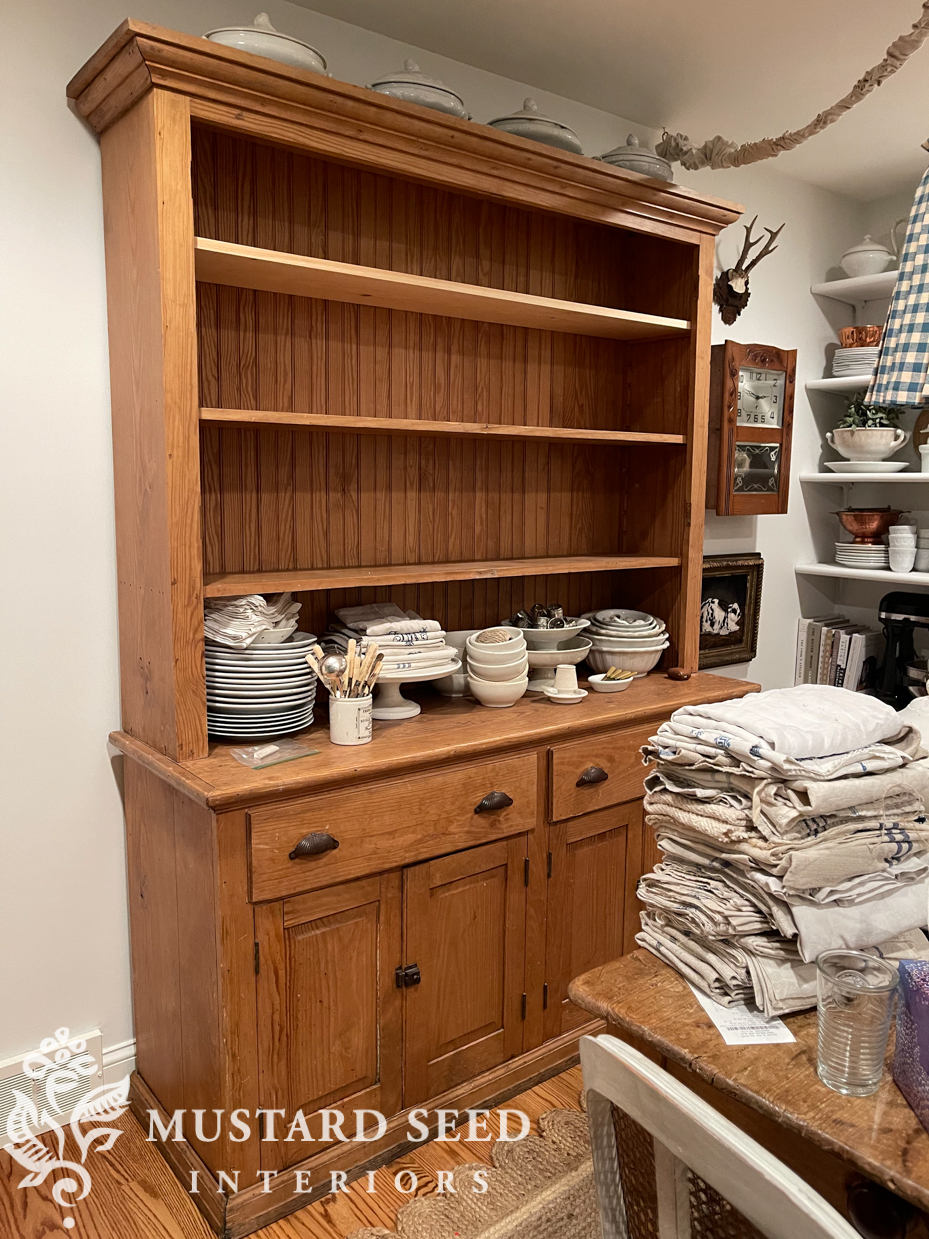
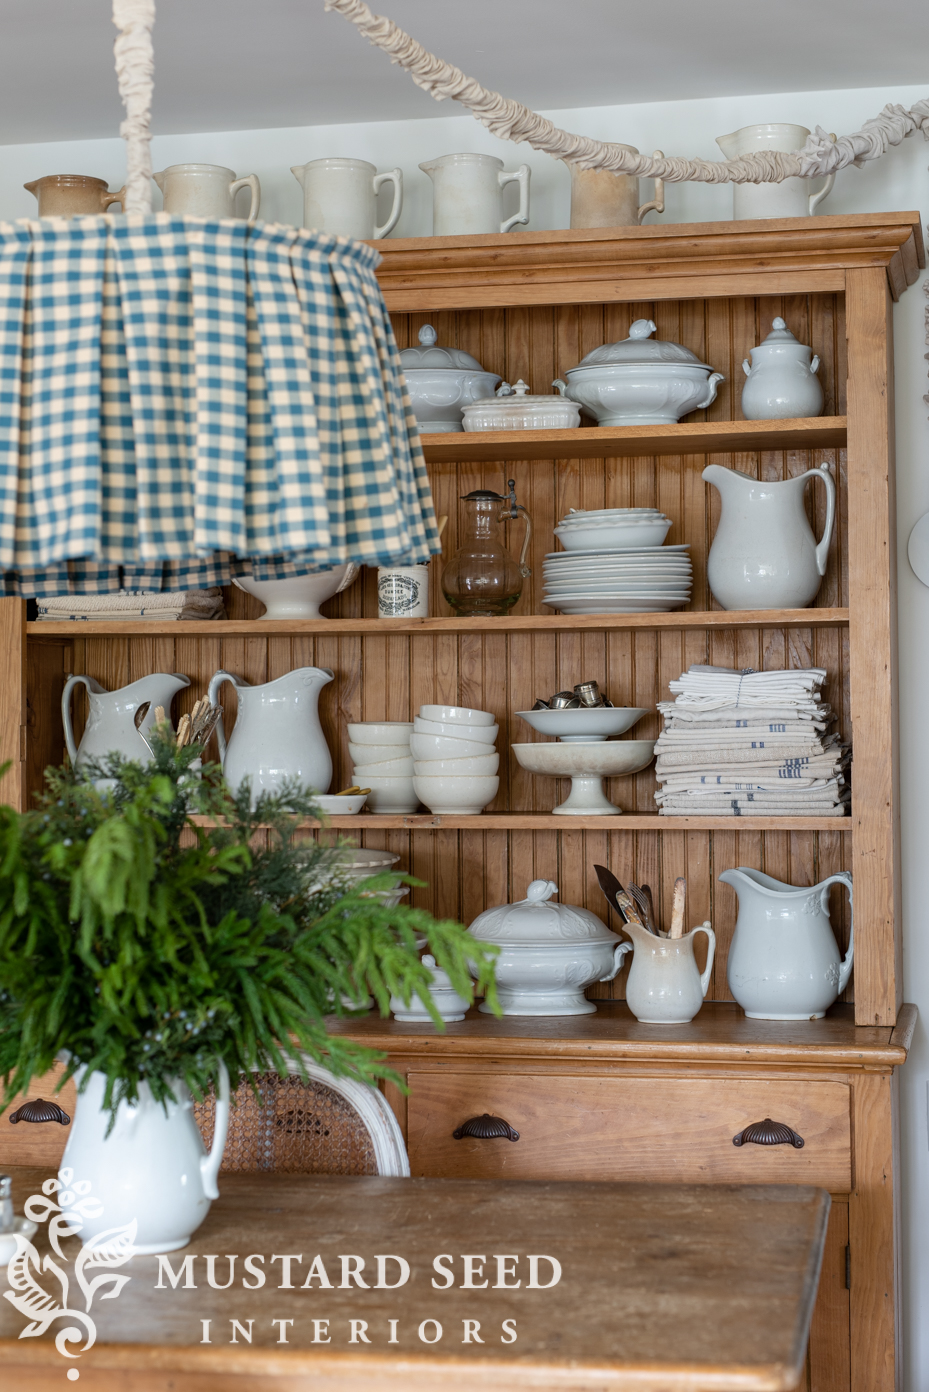
I bought this hutch in the spring at the Lucketts Spring Market because it was the perfect size and style, and offered the storage and display piece I wanted. As soon as I got it home and started styling it, I realized it was missing a shelf. The brackets were there but the shelf had been removed somewhere along the line. It made the spacing of the shelves a little awkward and I knew it would be improved by adding another shelf. My only hesitation in adding a new shelf was convincingly matching the old wood. Patina can be replicated, but it can be hard to match when the wood is sitting together on the same piece.
I felt like it was worth a try since the addition of a shelf would improve both the look and function of the piece.
I bought a piece of rough pine instead of the premium pine, so it would have some dings, knots, and irregularities. We bought a 12″ wide board and Jeff ripped it down to 10.5″ on the table saw so it would fit. We also cut the length to size on the chop saw. Once it was the right size, Jeff used a small hand saw to cut out the notches needed to make it fit around the shelf brackets. Once all of the cuts were made and sanded, I fitted the shelf and it fell into place perfectly. I was excited about the fit, but I was a little nervous about matching the stain.
I brought a shelf support piece with me to the hardware store to compare it with the stain samples on pine. I found a couple of stains that were a possibility, but the winner ended up being Golden Oak. As a coincidence, that was the same stain we used on the oak floors. It just looks very different on pine. I left the shelf installed in the hutch to apply the stain since it made it easy to work on both sides. I rubbed it in with a cloth and let it dry for a couple of days.
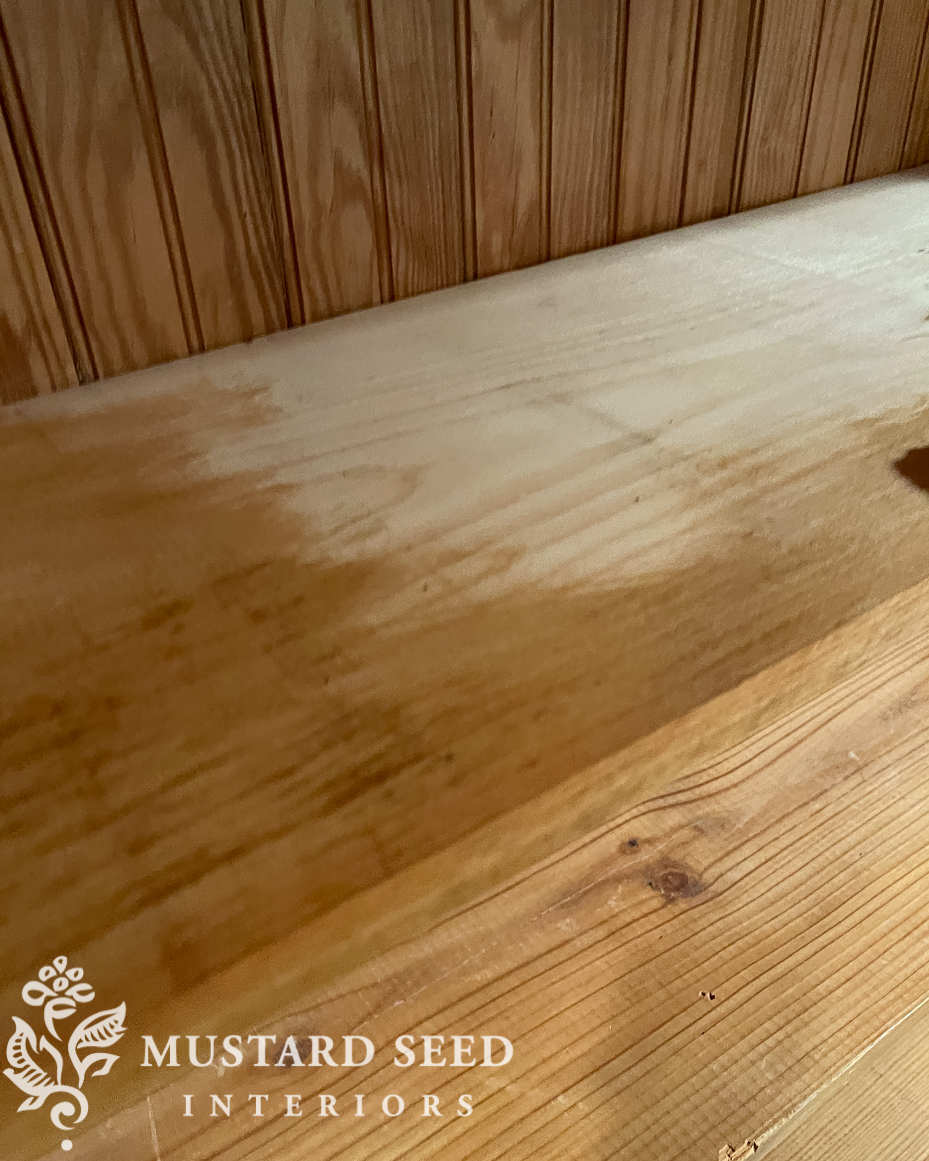
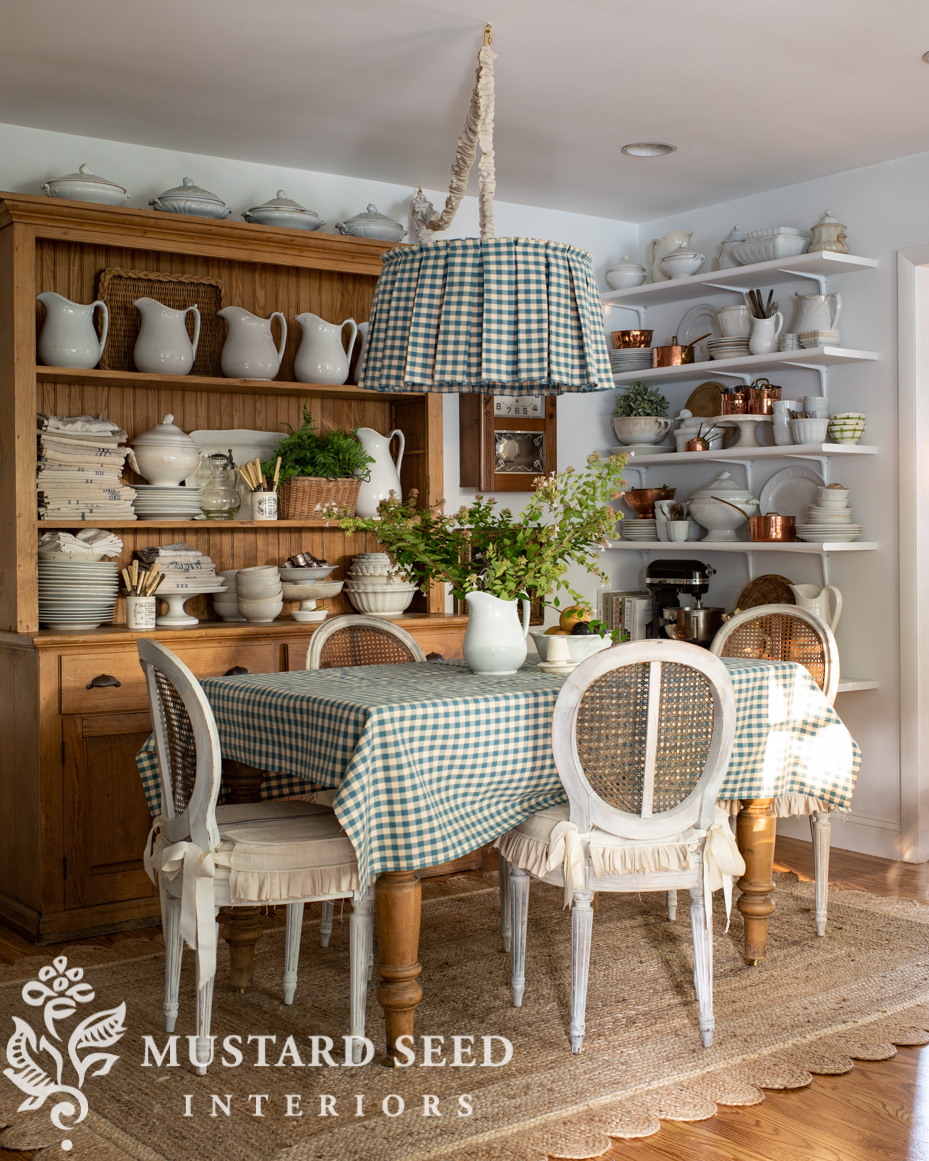
I could put some on it at some point, but it matches the antique wood so well that I just wanted to leave it alone. It also isn’t going to get heavy use so I wasn’t too concerned with having the wood sealed. I am so, so pleased with how it turned out! If you didn’t know the top shelf was new, you wouldn’t know unless you were really looking for it.

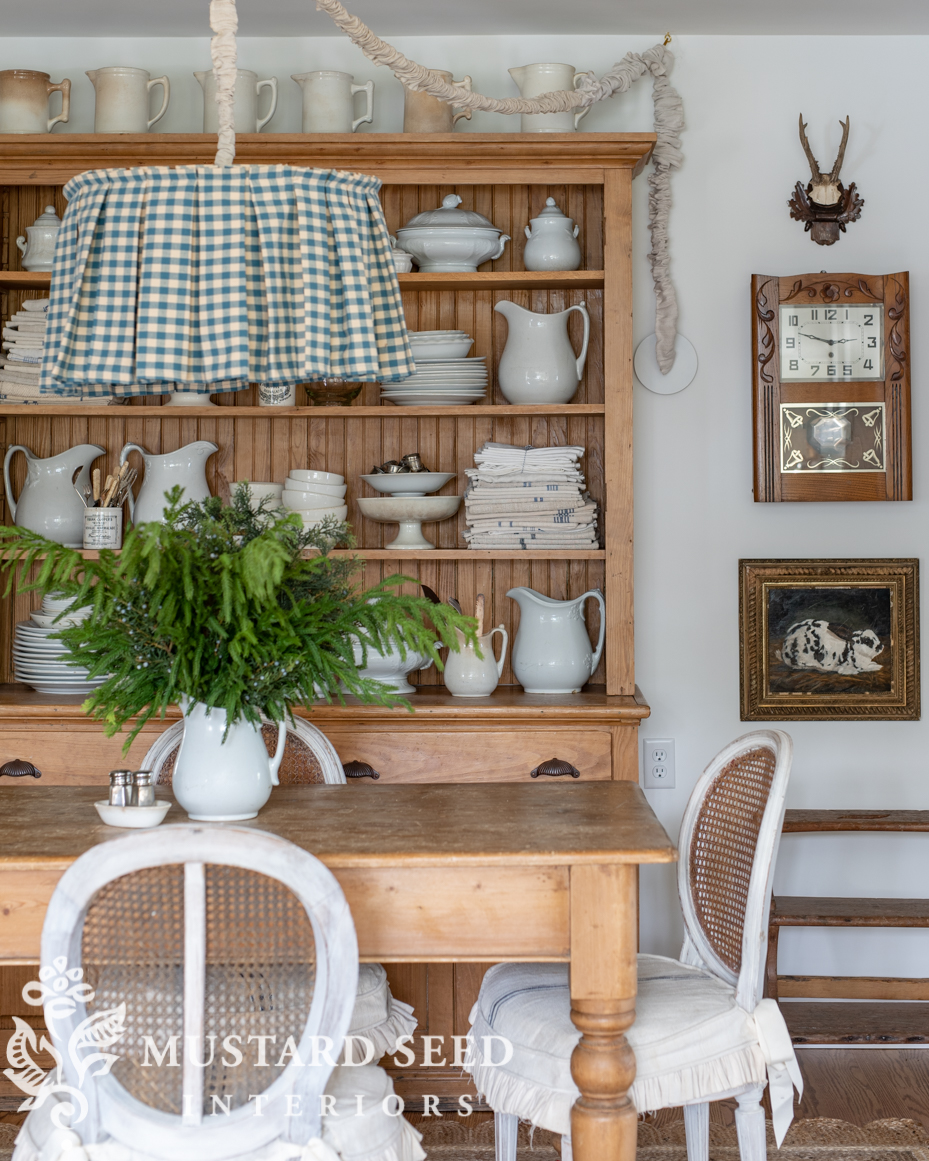
Everything sits so much better on the hutch with three shelves. I don’t feel like I have to stack things higher than I normally would in order to fill the space. It allows me to style in a way that feels more effortless.

One more project checked off the list…


I may be the only 89 yr who can hardly wait every day to read your blog. You are such an inspiration and I love how you and Jeff work together on your projects. Beautiful!
Aw, thank you so much!
That was genius and no one would EVER think that wasn’t made like that originally. It looks soooo much more balanced.
You guys are amazing, truly. And man oh man oh MAN do I adore that hutch!!!!! And you style everything so perfectly.
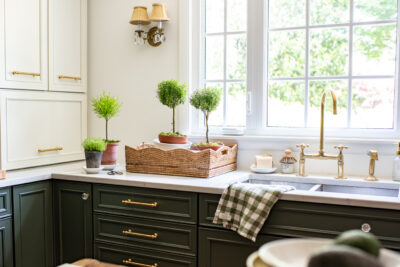
Your kitchen is lovely but that white shelf next to the hutch is distracting and too busy. I think it distracts from the rest of your kitchen.
Hard for us to judge what works and what doesn’t, because we’re not physically in the space. Only she can and she’d the ‘decider’.
Since the rest of the kitchen isn’t as busy, it does work for me, but it’s definitely my max. I want the house to get a bit more settled before I decide what pieces work best and sell the rest that I don’t really have room for. It’s a process! 🙂
It is a bit busy at this point, but I want to wait until we’re a bit more settled in the house before I start thinning things out. It’s a process! 🙂
Lucky Ducky! Smart Cookie! Haha!
Beautiful! Would the wax be applied in place of a poly sealer?
Yes, it would be instead of a poly finish.
Marian, you always do such nice work and everything looks so classically beautiful. Will you replace the white shelves with another hutch or piece of furniture? I was just curious because I wondered if the shelves were temporary or permanent? At any rate, it looks so comforting. Great job!
I’m not really sure. I needed some more open display for all of my ironstone so the shelves were a good solution. I like them, but I don’t feel like they are untouchable! 🙂
It is perfect. Goodness everything y’all do is perfect. Styling is much better and doesn’t feel like it is an effort. Thank you for sharing another success.
I agree with Christy the white shelves are too busy and detract from your beautiful kitchen.
I agree with Christi and Lin, but I prefer a more minimalist atmosphere so prefer fewer items at a time on display and more open space. I have followed you for years and always enjoy your DIY tips
I tend find myself pushing and pulling between adding more things and then taking them away for a simpler, cleaner look. Right now, the shelves are definitely at my max, but I didn’t want to thin things out until I feel like the house is more settled after our move. At that point, I would feel more comfortable selecting the best pieces to keep and sell the rest.
The hutch looks beautiful and your kitchen is perfectly you. It must bring you so much joy to spend time with your family in such a beautiful space that you designed!
It makes such a huge difference! You are right in that it makes the whole hutch balanced. Not a lot of work, but now it’s a beautiful and permanent fix.
Marion,It’s just beautiful! Your taste and decision making is always on point.
You are such an example to your boys regarding work ethic, commitment and zero procrastination. I bet they too come home from school some days and exclaim “wow look what mom did”
It going to be hard for them to find a girl of their generation “like Mom” …. 🙂
You truly are an inspiration … the only blogger I know that can do an entire segment about a shelf!
And as for the white one… it’s your kitchen and if it works for you… that’s all that is important… and besides it’s one corner of a rather large dimensional space.
Miriam, you are an exceptional homemaker.
Looks beautiful. Your shelf styling always inspires me. Thank you for sharing!
The new shelf turned out beautifully! I always enjoy reading your step by step procedures for restoring/renovating things. I think the white shelves look too new with your antique hutch and table. I would prefer having some breathing space in the dining area and remove the white shelves, but that’s just my opinion. I was hoping you would keep the original green chandelier. It was such a fun vintage light fixture.
I vote against the white shelves too but the hutch looks beautiful. Have a sale, Sister!
Wow, what a blessing that the perfect stain ends up being one you already have on hand! So glad that was a relatively “quick and easy” project!
The hutch looks great!
I don’t think anyone would notice that you added the shelf! It looks spot on with the others and I love your style…..just beautiful!
I don’t think anybody will notice the added shelf at all! It looks like it’s always belonged there! I love what yall have done to your home and I enjoy watching and following your progress. It’s all just beautiful!
I agree that the fourth shelf adds balance, visual height and more storage that’s shows off your collections without crowding things. The stain works so well! A very nice revision to this old cupboard.