As I’ve shared over the past couple of weeks, I have to bounce between things that need to be done that aren’t super exciting (like organizing the basement and wiping wallpaper glue off the walls) and things that flex my creativity and are fun. By jumping between the two, I feel like I’m productive, moving the needle in the things that need to be done, but I’m also staying motivated and feeling fulfilled. It’s a delicate balance but it seems to be working. Aside from a few boxes in out-of-the-way places, we are unpacked and able to live comfortably in the house. We’ve made the sprint and can now slow to a comfortable jog for the next few years to bring this house to where we envision it. One of the fun things (whether sewing is fun is debatable) I worked on last week was making custom blackout curtains for the living room and primary bedroom.
The curtains do serve the practical purpose of privacy and sun-blocking, but they really didn’t need to be done. I wanted them to be done, though, because custom curtains make a space feel finished even if it isn’t. So, today I’m going to share about the custom blackout curtains I made for the living room.
This had curtains, but I removed them when we moved in. They were custom-made curtains but had lived a good, long life and it was time for something new. These curtains were also mounted to the trim, meaning they closed the windows in and blocks some of the precious light.

For the fabric, I selected Logan Plain in Navy by Thibault from Fabric Guru. This fabric is a heavy woven fabric, which is ideal for curtains and upholstery. I bought extra yardage to slipcover the ottoman and maybe make a couple of pillow covers. For an 8′ ceiling, I usually measure out 9′ of fabric so that I have plenty of room for hemming. In this case, I didn’t take the beams and trim into account, so I could’ve gone with about 8 1/2′ of fabric. The trimmings will be used for the ottoman, though. They are perfect to use for the “band” between the top and the skirt. I’ll eventually set up a sewing area in the basement where I can spread out large projects for pinning, but I worked on the dining room floor for this project.

I have been making curtains the same way for years and you can find a tutorial for the method I use HERE. I will make a video tutorial the next time I make some lined curtains, though, because I think that will be easier to follow.
A couple of shortcuts I took with these custom blackout curtains were –
- I didn’t hem the blackout fabric. It’s a very structured fabric that isn’t going to fray and the hem is never going to be seen. So I just didn’t do it. The sewing police have yet to come for me.
- I didn’t use header tape or pleating tape on these curtains because the fabric is so thick.
- Instead of pleating the top of the curtains, I just sewed the rings onto the panels and let the spacing of the rings make the pleats.
- Because this fabric is so heavy, I also didn’t add any weights.
And I think they turned out great! I was working with an uneven floor, so some of the panels skim the floor, hang above the floor, or rest slightly on the floor. But, they are done and I’m not one to fuss over imperfections. I’ll have to show some close-ups where the sewing machine bobbin was getting snagged and making a bit of a mess. I trimmed it up, but I refused to rip it out and redo it. I doubt anyone will ever notice.

I purchased inexpensive faux brass French return rods and these rings that can either be sewn onto the panels or drapery hooks can be slipped inside the hole under the ring.

are the rings I used and I hand-stitched them into place with thick embroidery floss. It was certainly more tedious than just using or drapery hooks, but I felt like it was the best choice for panels that were so heavy.

My parents helped me hang the rods, which ended up being a comedy of errors. Anything I could drop on the floor, I did. Tiny screws, the screwdriver, the center bracket, and I even let all 14 rings slide off the rod when I wasn’t paying attention. They skittered all over the floor in dramatic fashion and we couldn’t help but laugh.
But, the custom blackout curtains turned out great and add so much warmth and polish to the room. I love how the dark, rich blue plays off of the soft pink-ish brick of the fireplace and brings out the indigo in my antique quilts.
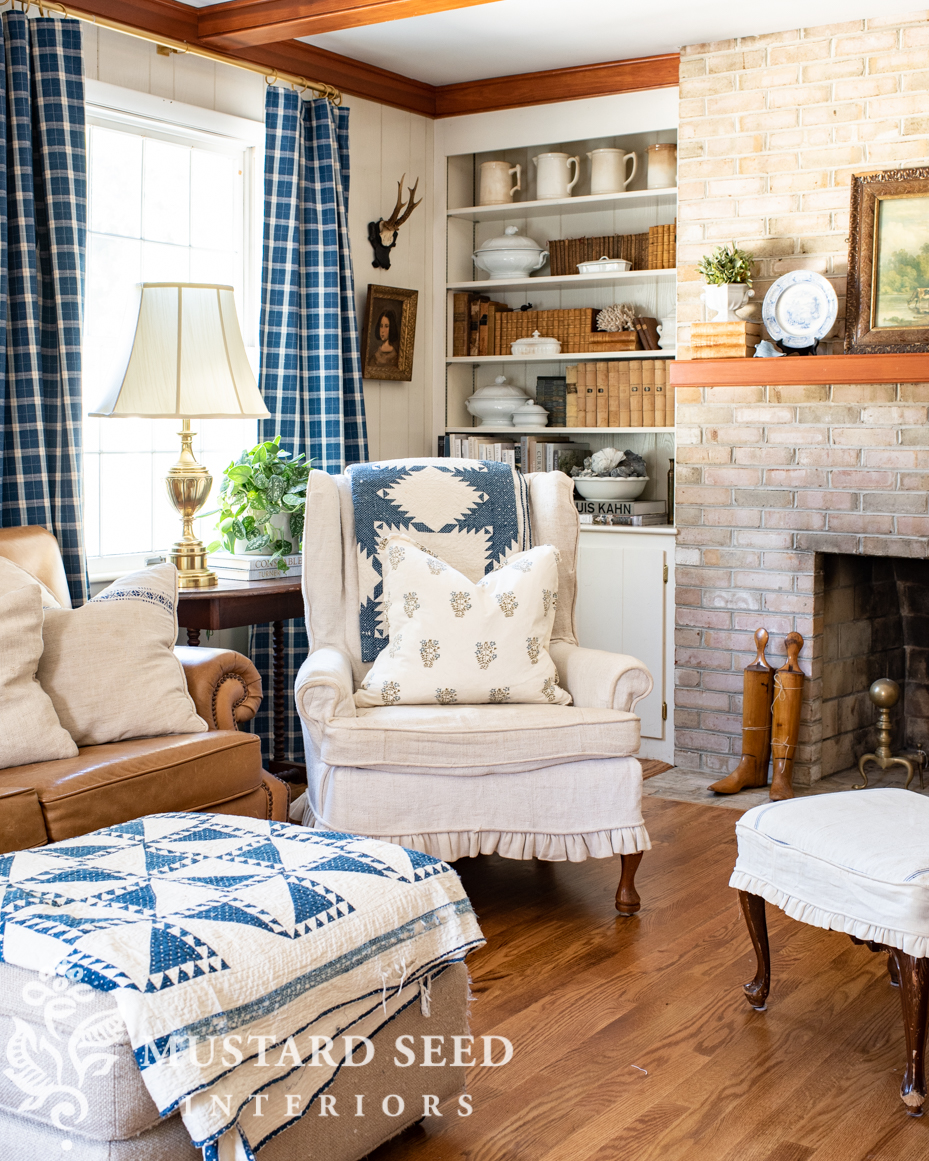
The blackout lining for these custom curtains might’ve been overkill, especially with how thick the woven fabric is, but we’ll really appreciate it when we’re snuggled in for a movie marathon and we can completely block out any light that causes glare on the TV.
As I’ve shared before, this room will eventually get painted. While I don’t mind the current colors at all, the walls and trim are scuffed and in need of fresh paint. The ceiling needs a fresh coat of paint as well. But, since there are other rooms in great need of paint than this one, it will wait for a while. That’s not a bad thing as it gives me time to think about what I really want.

The leather sofa will eventually go to Jeff’s office and we’ll replace it with a fabric-upholstered sofa that’s a bit more comfortable for TV watching and sick days.

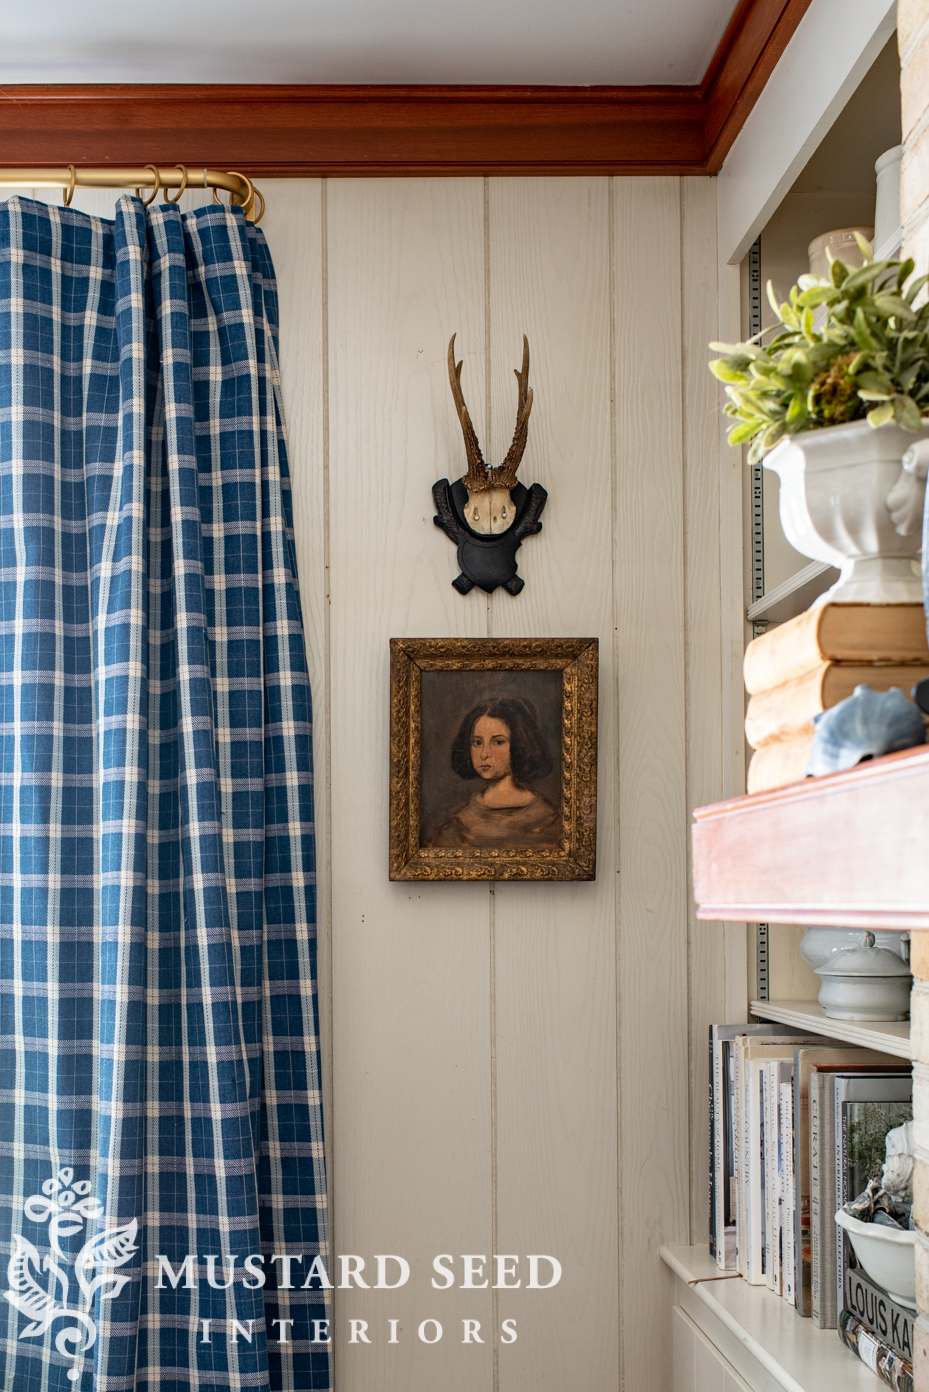
I’ll share more about the framed antique indenture in another post, but I love how it looks over the sofa and how the blue fabric brings out the blue ribbon sewn onto the vellum.

Next up for this room is to cover the two Stiffel lamp shades…


your home looks so homey and beautiful already. I love watching ‘the layers’ come together ~ even the in-between moments. I love that your chosen home needed ‘work’ ~ we get to watch and enjoy every charming detail you add. Thank you!
Great design in the room. I also love how the gold accents bring the room together. Curtain rings and poles. Then the gold picture frame. I pick up such great tips from you. Thanks!!
It’s always so fun to see before-and-afters of anything, from haircuts to make up to rooms/spaces just newly decorated. I love when you show us the “befores” and what you’ve made of it. Your new house is looking just beautiful!
Your curtains turned out great! I sew everything; I always have enjoyed sewing. Curtains
are a favorite. Take your bobbin case and needle plate off. Do a thorough cleaning of that whole area. Get your manual out and see if you need to give her a drop of oil. You’d be surprised what even one thread can sometime do to tension. You can also floss out the tension disk and make sure that is clear of fluff. Give your needle a change often. Happy stitching!
Thank you for all of the tips! I know there were two problems. Number one, the fabric & liners were a bit too thick for that particular machine, and two, which is bigger, the cover for the bobbin housing was lost in the move, so the bobbin thread kept coming out. Anyway, I got a replacement door yesterday and will give it the TLC you suggested. 🙂
Your magic continues. Thank you for sharing you with us. It makes it all real.
It is beautiful. Meshes and compliments each other.
Nice work.
I, too, think sewing is semi-fun. To me the fun comes at the beginning (the planning) and then the end when the project is finished. The actual sewing, cutting, ironing, etc doesn’t count as fun…but you have to do it to get to the end.
Seeing the photo of “before” in this room makes me realize what a tremendous impact your new wood floors have made! It’s fun to see your process and I am amazed at your speed.
Your new house is so similar to mine, so it’s fun to see the changes you’re making. I can’t remember if you have new windows or if they’re original, but if they’re original, you’ll be very glad to have heavily lined curtains. When they’re fully closed (which we only did during really cold snaps), they help keep a lot of heat in. We have new windows now, but before we did it made a huge difference.
I really appreciate the fact that you say when you save time and effort on some things. Also that you show that you have problems too and that things are not always perfect. Thanks!!
Drapes look great !!
Bravo:) I agree that curtains finish a room! I love the blue plaid fabric choice and the gold French return rods/rings. I always use rings but I have never sewn them in before so I do appreciate that idea when the header is not set up for rings. The color and the plaid pattern add so much to the room!
You have truly brought a new fresh life to this home. I agree with another ‘Marian enthusiast’ that your style goes so well with this ranch house cI sure you will continue to be a great inspiration to me v
I can’t get to the link for the curtain rods in your post. Any suggestions?
Great job! Your curtains look beautiful. It is fun to see the changes that you have made to make this house a beautiful home for you and your family.
I was so glad to see the tips about the bobbin. I think that’s one reason I gave up sewing when the bobbin would mess up it would frustrate me to much. Also I somehow dropped my sewing machine and made a small dent in the new wood floors my husband worked so hard on.Enjoy how the room is coming together.
We bought our mid-century ranch house three years ago and, like yours, the drapery hardware was fastened right onto the window trim. I wonder why they did it that way?
Yes I am always cleaning out my bobbin case with the small brush that came with my Brother machine I treated myself to few yrs ago. Thought about asking you about that antique looking document framed over your sofa so cannot wait to hear all about it.our room looks great. Keep going!
Love it Marian!
Love it Marian! Looking wonderful!
They look GREAT! I’ve always been afraid to use a check/plaid pattern because I’m afraid I won’t get them to match. How did you do that???
And the rings. Would I be correct that each was individually sewn to the curtain top? I look forward to seeing your tutorial. Thanks for sharing your great work.
Love, love, love the curtains! The color is so you! I love watching you transform this house.
Okay!!!! I am the sewing police…HA!!! All looks very nice but those shortcuts would drive me bonkers. And true if you didn’t say anything…nobody would really know….except I would!!! It’s just the way I do things. Good for you to have a more carefree attitude.
This room is very cozy looking. I loved your buffalo plaid sofa but good thing you sold it as I don’t think it would fit in this room. Can’t wait to see the next one.
I knew you might come for me one day! ? I do get it and there are times when I’m detailed and make sure I do everything “right” and there are times when I want to take shortcuts. I like to share when I do so other people can feel the freedom to do that. Sometimes done is better than perfect.