I’m bringing you a “twofer” in today’s post – a tie-up shade tutorial and a ready-made version!
So, a few months ago, I made three linen shades with my mom for my studio. I did the cutting, pinning, and sewing, and she did the ironing. With the two of us working together, we were able to get three done quickly, but we didn’t have time to finish the remaining three before she left. I’ve been dragging my feet since January, feeling like the project would eat up a couple of days of my time. I finally got to work on them and finished all three in about three hours! It’s so ridiculous how I can build projects up in my own head when they really won’t take that long.
Anyway, while I was stalling, I spoke with Decor Steals about making a reproduction shade for those who don’t sew or who just want to have one ready made. So, we collaborated on that and they are available for sale today!
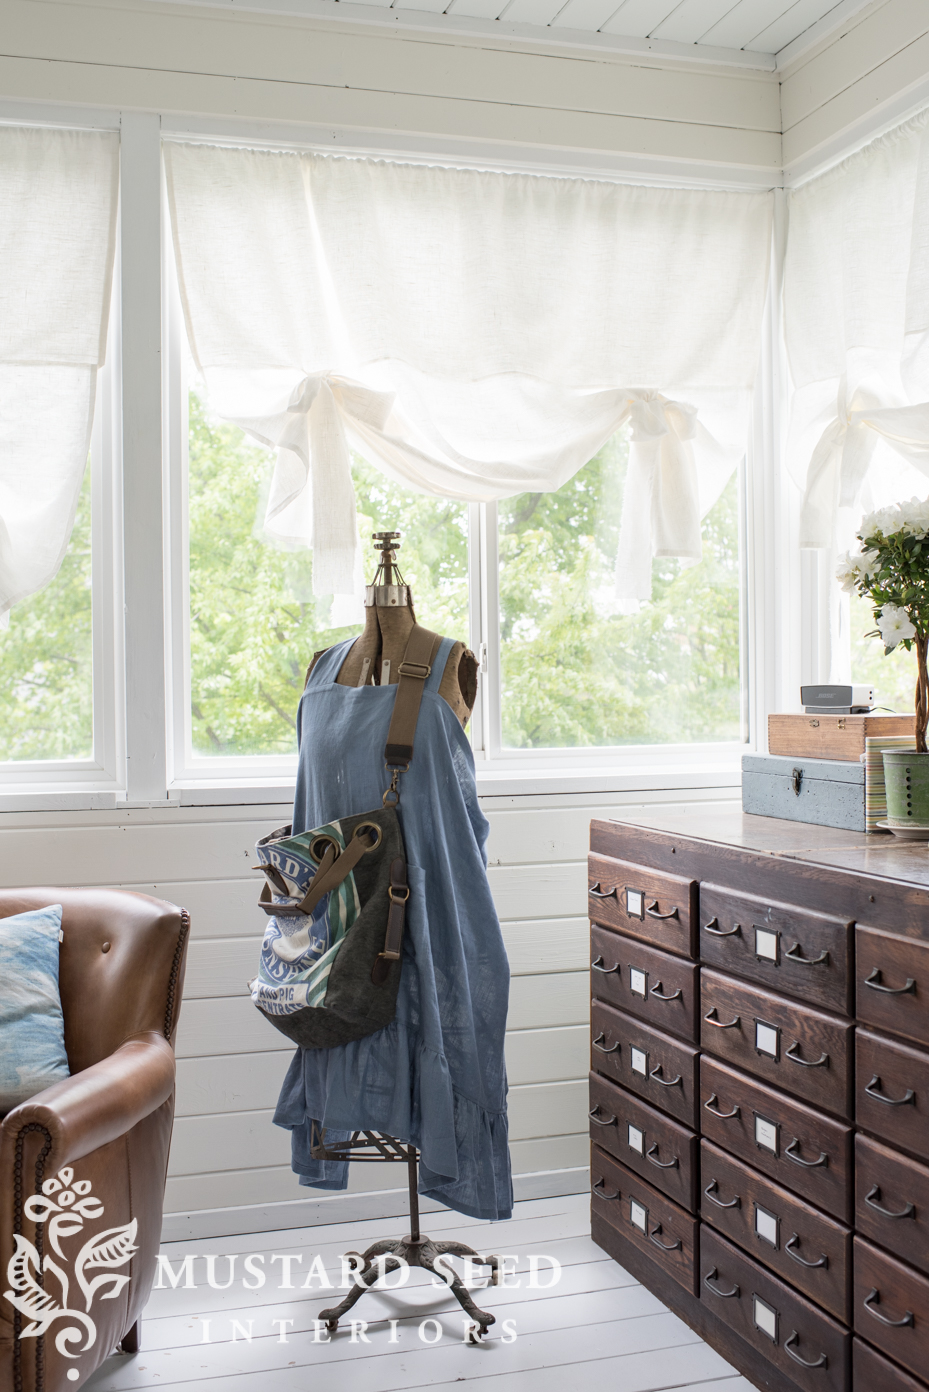
Before we get to the tutorial for the DIYers, here is the ready-made version…

Since my studio windows are huge, we made these to different measurements, so they will fit most standard-sized single windows. You can also double or triple them up for larger windows.
They are made out of a poly-cotton blend for a gauzy, linen look. The rod pocket is 1.5″, which is designed to fit on a standard tension or cafe rod. I really like these on tension rods, since they are super easy to install and the window frame isn’t covered. Each shade measures 70″ wide x 60″ long and they can be gathered tightly on the rod for smaller windows or can be spread out to cover wider windows. They are pretty forgiving when it comes to size. (My window is 36″ wide, as a reference.) The length is also pretty forgiving, since they would be tied up most of the time.
(These are not going to provide full privacy, since they are see-through. I would add a roller blind underneath if you need that. They are great for light-filtering, though!)

The ties can be adjusted and styled in different ways for different looks.

Here is a video showing how to style the shades, in case that sort of thing doesn’t come natural to you…
If these will work for your home, you can purchase them today from Decor Steals HERE.
Now, for the DIYers, here is the full tutorial showing how the make them yourself! These are pretty simple to make and, if you can sew a straight line (relatively), then you can make these.
Here is a pattern for the curtains and the measurements I used for my smaller studio windows, but you can adjust the measurements fit your window. I would suggest dividing the length into thirds, as I did, with the top of the blind being 1/3 and the bottom being 2/3. This seemed to be a good visual ratio. (At least to my design eye!)

For my shades, I used bleached 7.1 oz heavy linen (57″ width), purchased from HERE for $8.83/yard. Don’t be fooled by the term “heavy”. It’s not a think or heavy fabric and is still gauzy, see-through, and light-filtering.
CUT LIST
For the measurements above, here is what you’ll need to cut…
- Top of shade (this will be doubled over, so it’s twice the length, plus seam allowances) – 42″ long x 62″ wide
- Bottom of shade – 62″ x 57″ (full width of fabric bolt)
- Ties – Cut four pieces that are 4″ x 32″
The cool thing about cutting linen, is you don’t have to cut it. Just cut a slit at your measured mark and tear it. It will tear in a straight line! You will get some fraying and snagging, but you can clean that up when you iron and it makes the project go much faster than having to measure and mark everything on white linen. It does take a bit of muscle, though, so you’ll feel it if you’re working on three shades (as I was)!
Once your pieces are cut, hem the left and right sides of the top of the shade. (Leave the top and bottom un-hemmed.) The sides are the 42″ long sides of the fabric panel.
If you’ve never done a double hem before, here is how I do it…
Fold over the fabric edge once, about 1/4″.

Fold it over a second time, so the raw edge is hidden….

Press the hem with a hot iron to crease the folds.

Sew it, so the hem is secured. That’s it!

Once the sides of the top of the shade are hemmed, you need to repeat that on the bottom piece. Hem the left and right sides.
Since the bottom piece is the bottom of the shade, the bottom edge needs to be hemmed as well. There is usually a little bit of excess fabric at the corners once you have hemmed one side…

So, we want to get rid of that. Just snip a corner off with some scissors…

And double fold the bottom hem. With that bulk cut off, you’ll have a nice corner…

With the top and bottom pieces of the shade hemmed, we need to prepare the ties. I know this looks like a pile of toilet paper at this point, but they will look like ties when we’re finished!

I did get a little lazy on my ties. I really didn’t want to hem all of the ties, so I opted to just leave the edges raw. Yes, there will be some fraying, but I’ve had three finished shades in my studio since January and they haven’t shed at all, so I’m not too concerned about it. You can certainly hem yours or even just stitch along the edges if the raw edge isn’t your thing.
Since the fabric was torn instead of cut, they do look a bit snagged and frayed, so all of the ties need to be ironed and they’ll look much better!
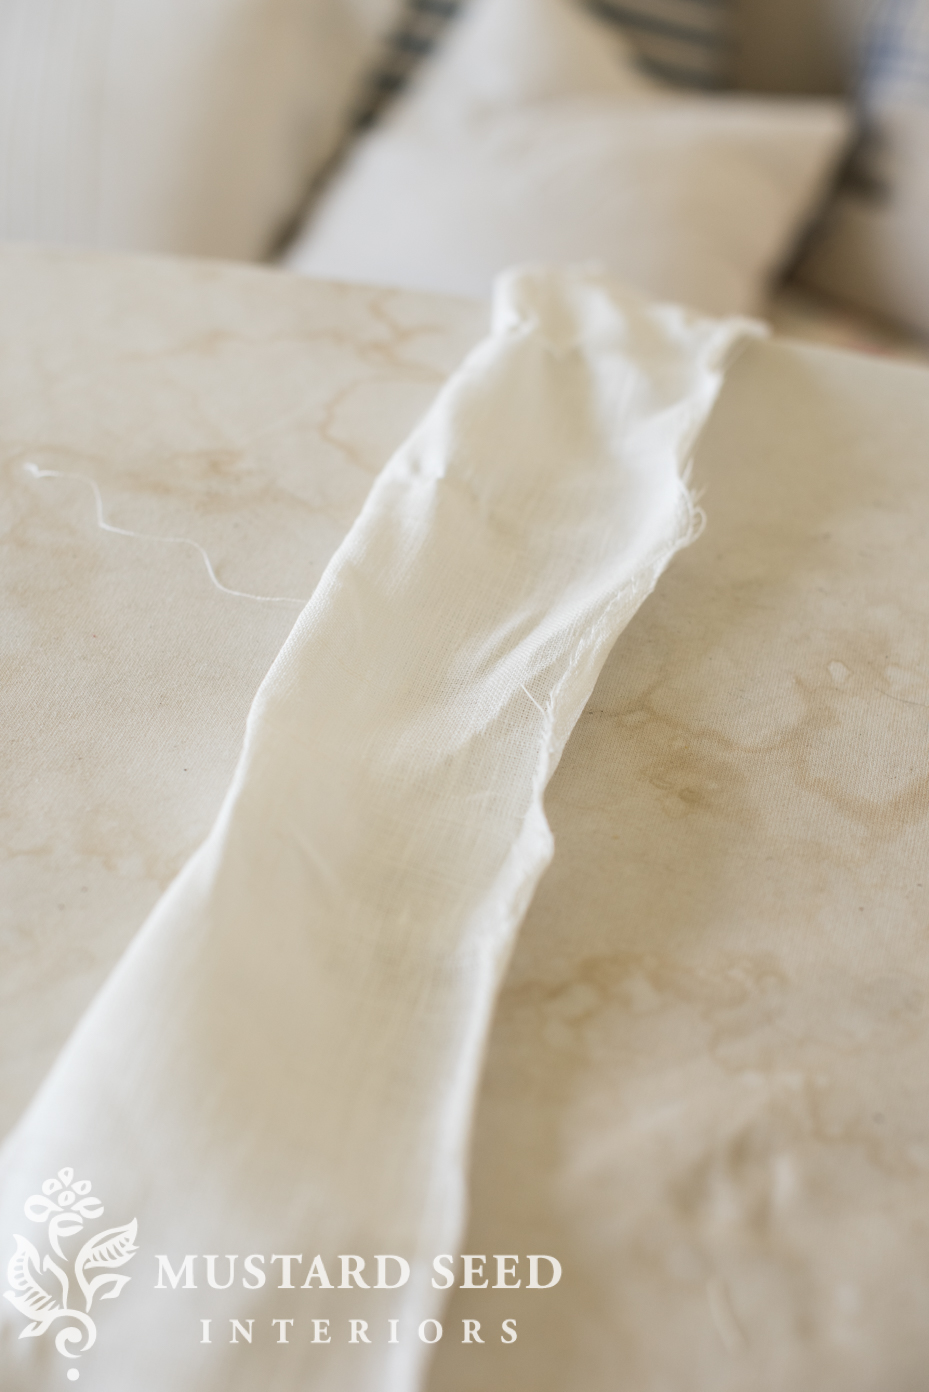
Here’s how they look ironed and finished…

It looks like a raw, linen ribbon.
Now, you have all of your pieces ready to assemble. Since this part was the trickiest bit, I decided to make a video showing how to finish them off…
And they look so good! They are perfect for my studio and it’s so nice that I can sit at my drafting table in the evenings now without being blinded by the setting sun!

In addition to bringing some function to the room, they add texture and softness to the space.


Love that you’re doing this. I don’t sew, but loved the ones you made for your studio. I just ordered 3. Thanks!
I have a question about the size of the double windows in your studio. Are they 36″ wide? I have similar windows in my dining room and this is the perfect solution for a west wall of windows and not blocking all of the light?
No, the ones along the back wall (with the drafting table and hardware counter) are 52″ wide and the curtains are made to the plans above. The windows on the right wall are much larger, so those dimensions are different. You could order/make one shade or, if you want more volume, you could use two side by side. It looks really nice either way!
LOVELY1!!!!
Diney on Camano
How clever of you to do a “dropped waist” style with the ties in the seam. I have made this type
before but never thought of the “dropped waist” look. Marvelous! M.
very lovely – I still want one of your stool covers ~ is there any where I can buy one ?
thank you !
Hello Marian…thank you for showing us how to make these cute little shades…but I am confused…is the “bottom part” 60″ long..or 40″ long….?? Thank you so much…
The bottom part of the shade is 40″ long (total length is 60″ when it’s attached to the top).
I don’t get why one piece is 62″ and the other is 60″? They won’t be the same width, right?
Whoops! I fixed that. They should both be 62″ to allow an inch on each side for a seam allowance.
Hi Marian!
Love the window shades! They are gorgeous and yet so simple.
I am going to try and make my own!
Keep on what you are doing, girl!
I love how these come together. I will be adapting for a much smaller window in my laundry/creative space.
Thanks Marian!
I love these shades and am ordering some for a new space. My biggest regret in life is not learning to sew…but I am a force with a glue gun, stitch witchery and an iron!! 🙂
I love your new photo on the site!!
Both versions are lovely!! What a great idea to have them made and for sale for those who don’t have the time or sewing skill to make their own. 🙂
Those are so cool! And love your new photo & hairstyle on the blog! Love it with bangs too but think I like the new ‘do even better! Seems that all you do has that magic touch!
Thank you! The bangs are still there, but I twist them back when I wear my hair curly.
How dang pretty they look!! Those shades just put the cherry on top of your workroom!!
They really do soften the look of your studio. What a lovely space to be creative in.
So if I’m making 3 for 36″ windows exactly like yours, how many yards would you suggest I purchase? I get how they are laid out and finished measurements, etc but I’d rather not be short of material and I don’t want gobs of extra because I just can’t do the math, lol! Thanks. love them and they actually look pretty easy!
You would need 10 yards and that should be exactly what you need, if you buy 57″ wide fabric.
Thank you Marian these are a lovely window cover.
LOVE your new profile picture…cute hair…and it looks wonderful on you!
I love these….. soft and functional at the same time.
THANK YOU so much for giving us the directions to make them ourselves. That’s really nice of you!!
Your window treatments turned out so beautiful! I love how you did the loop on the front so the ties can meet there to do their job, instead of strung way up over the top like Swedish blinds. I had this same curtain tie-up style in my old kitchen back in Seattle. The ethereal quality of the linen is also very Swedish-inspired as they really valued light, being in a country that went dark half the year, lol.
So beautiful – job well done!!
I decided to keep my new window treatments simple too, just hanging pastel floral cotton gauze from a spring rod – could not bear closing out any bit of this glorious Virginia sunlight!!
I ordered two for my She Shed. Just the perfect window coverings – you helped fulfill my vision. You are awesome!
So that’s how it’s done! Thank you for this pattern and instructions. You are amazing and constantly inspiring me.
So pretty!!! Thank you for the tutorial.
I’m not into sewing so where can I get ready made ?
They were available from Decor Steals yesterday.
Hi just curious what kind of sewing machine you use? I would like to start making slipcovers with your tutorials and also looking to buy a machine. I am leaning towards vintage however any suggestions would be welcome . Thanks!
I use a Singer Heavy Duty, which runs about $150 and then a Sailrite for upholstery, which is about $800. The Singer will work for most projects, though, but I needed the upholstery machine for all of the upholstery and slipcovers I was making.
These are fabulous! Thank you so much for sharing with us! I wanted to know if a slightly thicker linen would work? I actually have about 20 yards of a linen that would be gorgeous made up like these!
Thanks!
Yes! You can really make these with any fabric you want.
This is just what I’ve been looking for! If my window is 69 inches, what width would the curtains be (should I make 2 panels?)? And how many yards would I buy? Thanks for helping, this will be the first project on my own!
I would make one panel about 75″ wide, so there can be a little bit of a gather. That’s about what I did on my wider studio windows. You need about 5 yards/window to have enough for both panels and the ties.
Just seeing this and of course, they are sold out. Do they give you any advance notice when they’ll run the deal gain?
Would this fabric work for a regular long drapery? Also, did you preshrunk your fabric before sewing it? And did it change color with washing ? Shrinkage ? Love your blog and the curtains turned out so lovely!
I didn’t prewash it, but you certainly could! The fabric is linen, so I would just wash it in cold water, hang it up to dry, and iron it. I wouldn’t expect much shrinkage. And yes, you can use this same fabric for full-length drapes.
Decor Steals is sold out, do you have these for sale on your website? I can’t be trusted around a sewing machine 🙂 lol
I’m not understanding the sewing at the top of the curtain. Do you just sew along the raw edge and the raw edge is exposed? Or are you folding it in? I’m super unclear how you are hiding the raw edge at the top after pinning it. Thank you so much!!
So I just bought linen/ cotton blend, 2 yards,52 wide. So my window inside is 46!!! So I should have went over your instructions more. I don’t have enough for that extra panel at the top! I need more fabric. Love love these curtains!! Thanks for sharing!
Hi there! If I need to make a shade for a window of much smaller dimensions, should I just ensure that I leave the appropriate seem allowances but follow the rest of the pattern just reduced to the correct size?
Thank you!
I ordered a shade for my window through decor steals. I need another shade for the window as this one is to small for the window. I don’t have a working sewing machine or I would just make one.
You would have to get in touch with them directly, but I believe they are planning to offer them again.
Hello, love the shades. I am gonna make some for two double windows. Windows are 70” wide with division in the middle at 35”. So I was gonna do one expansion rod with two shades at 35” on the rod. The question I have is when you look at your completed curtains in your workshop I see that you do not see the ties through the top as the sun shines through but I see it at the middle down. When you put the ties 8” in on the video, are they all the way to the top? I’m a little confused on that. Also how much material do you think I would need? 8 yards?
The linen fabric your using is 57″ wide…but you say to cut the Top of shade (this will be doubled over, so it’s twice the length, plus seam allowances) – 42″ long x 62″ wide. Don’t understand about the 62″ wide there when you have 57″ fabric I know your allowing for seam allowances still don’t get it
I love these shades… have had them for at least 18 years… the EXACT ones…forget now where I purchased them … 100% linen… I am older than you… and,:..still use them… I roll them a little tighter and make rosettes from the long ties…love them… everything old is new again ….
but these are classic…You did not invent the wheel…seriously, you should give credit to something that was already designed… that you re-invented…sorry, not trying to be snarky… I love everything you do…but it’s true…
these would be adorable in my kitchen window. I love them! Now I just need someone to make them for me. I have a pretty handy mom 🙂 My window is 71×37 . I think I would make 2 shades? What size do you recommend?
Would you Be interested in making 2for up shades for me? What would you charge. They are exactly what I been looking for. My Windows are 29 1/4 wide 66 inches long.