GarageBand User Guide
- Welcome
-
- Play a lesson
- Choose the input source for your guitar
- Customise the lesson window
- See how well you played a lesson
- Measure your progress over time
- Slow down a lesson
- Change the mix of a lesson
- View full-page music notation
- View glossary topics
- Practise guitar chords
- Tune your guitar in a lesson
- Open lessons in the GarageBand window
- Get additional Learn to Play lessons
- If your lesson doesn’t finish downloading
- Touch Bar shortcuts
- Glossary
- Copyright

Use effects on the master track in GarageBand on Mac
The master track includes effects that shape the sound of the overall project. You can add, edit, reorder and remove effects on the master track the same way as on other tracks. You view the effects on the master track by clicking the Master button in the Smart Controls menu bar.
When Master is selected in the Smart Controls menu bar, the effects on the master track are available in three sections:
Effects: Includes Master Echo and Master Reverb, and can also include reverbs used on tracks.
Output: Can include a compressor, limiter, EQ and other effects.
EQ: A visual equaliser that shapes the overall sound of the project.
The master track includes Master Echo and Master Reverb effects. You can change the setting for the Master Echo and Master Reverb in the Effects pane when the master track is selected. Each audio and software instrument track includes a Master Echo and Master Reverb slider, which you use to control the amount of Master Echo and Master Reverb used on the track.
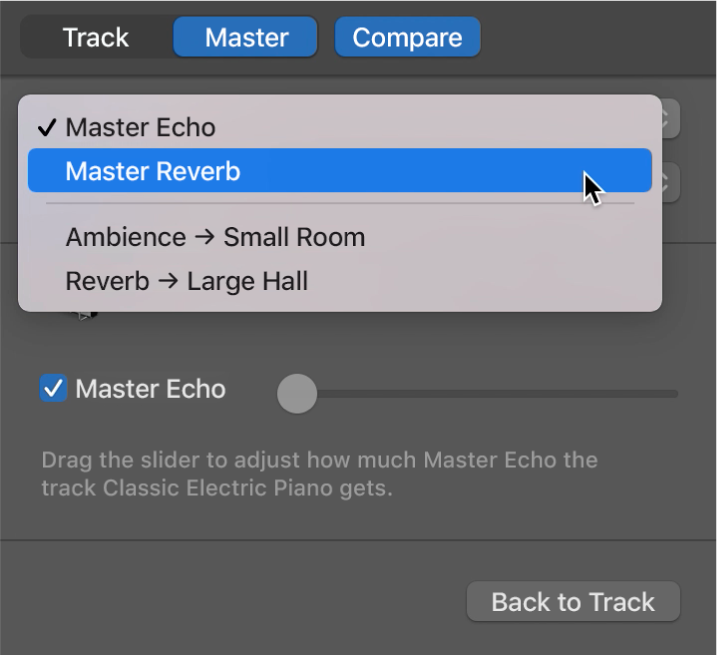
If a track contains shared reverbs (usually controlled by the Ambience and Reverb screen controls), the shared reverbs appear below the Master Echo and Master Reverb settings in the Master Effects upper pop-up menu, and a slider and tickbox appear below the pop-up when one of the shared reverbs is chosen.
Change the Master Echo or Master Reverb setting
In GarageBand on Mac, click the Master button in the Smart Controls menu bar, then click the Effects button.
Choose Master Echo or Master Reverb from the upper pop-up menu.

Choose a setting for the master effect from the Setting (lower) pop-up menu.
When you finish, click Back to Track to return to the track you started from.
Change master track effects
In GarageBand on Mac, click the Master button in the Smart Controls menu bar, then click the Output button.
Click the right side of a plug-in slot, choose a category, then choose a new plug-in from the submenu. The new plug-in replaces the former selection.
You disable, reorder, remove and edit plug-ins on the master track in the same way as other track types. For more information, see Add and edit effect plug-ins in GarageBand on Mac.