All lit up!
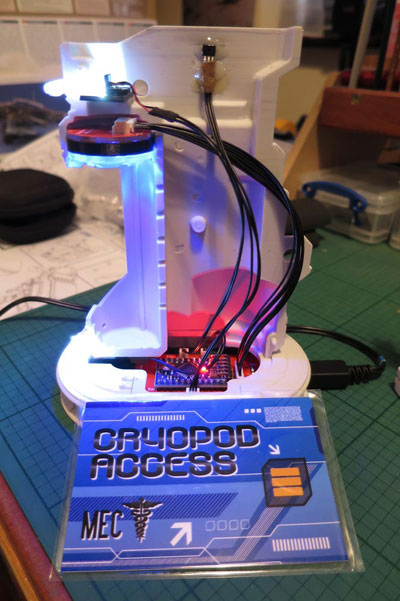
I couldn’t resist having a fit of everything first, and so connected all the cables, and plugged it in, it worked!

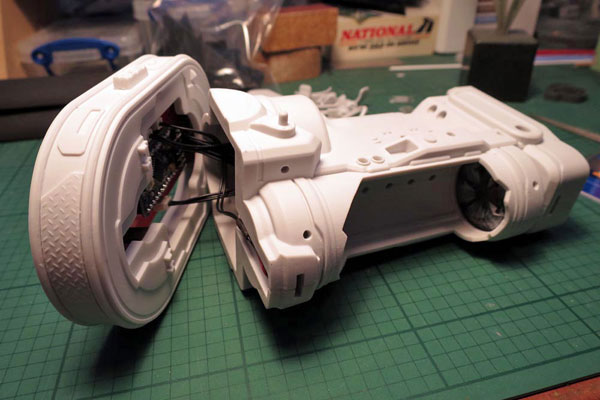
I had previously cleaned up the two mating faces, and even though the fit was not perfect, (pegs held it quite well in places) the two halves were superglued together, and when secure, superglue used as filler around the seam. The top was fitted too.
At this point it will be evident that I have not followed the instructions, as they seemed to point towards fitting all the ancillaries around the pod before fitting the two halves together. As all these were to be painted separately this was never going to happen.
When secure and cleaned up, the cables could be connected and the base glued to the main body.
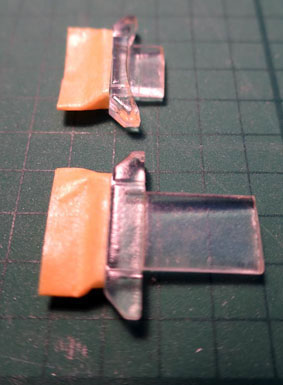
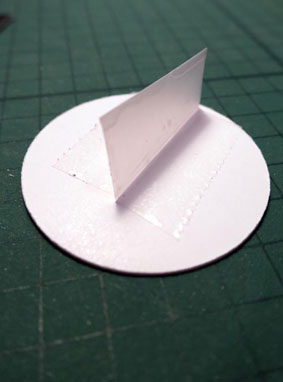
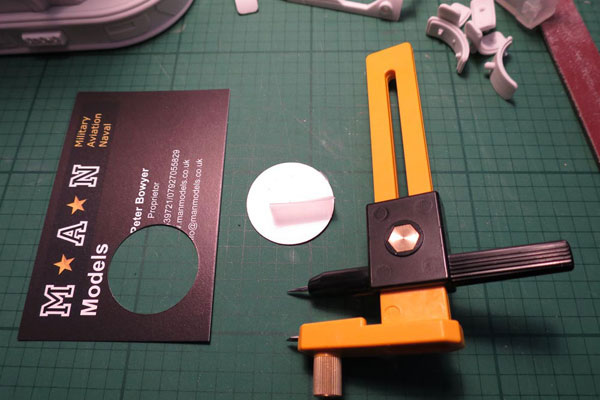
Next the lenses were masked and fitted into the main body. A circle cutter was used to make a mask for the main internal display to protect it from overspray. Tape can be used to make a tab for removal, and to make it stick while spraying.
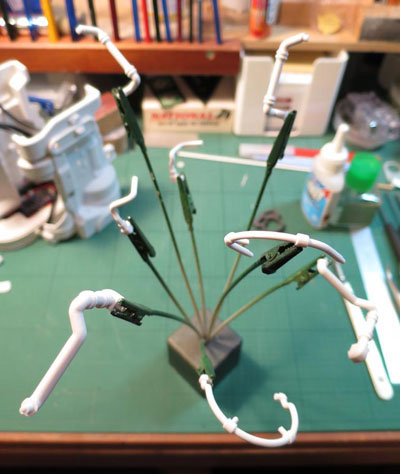
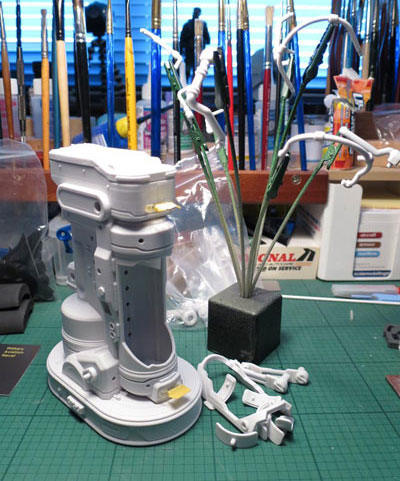 All parts were undercoated, and while drying I tried something for the first time.
I have heard lots about dipping transparencies in Johnsons Klear, but never done it. As the door transparency was not the clearest I have seen, I gave it a try. I had bought a couple of bottles when it was available ages ago, ‘just in case’. I ‘dipped’ it and put it to dry on a tissue to allow the run off, and it worked very well (it’s ideal if you can place the clear part under cover while drying so that it doesn’t collect any unwanted dust – a clear plastic box works well with sealable lid.